Category: Protective stying

Protective styling for natural hair – working with knots!

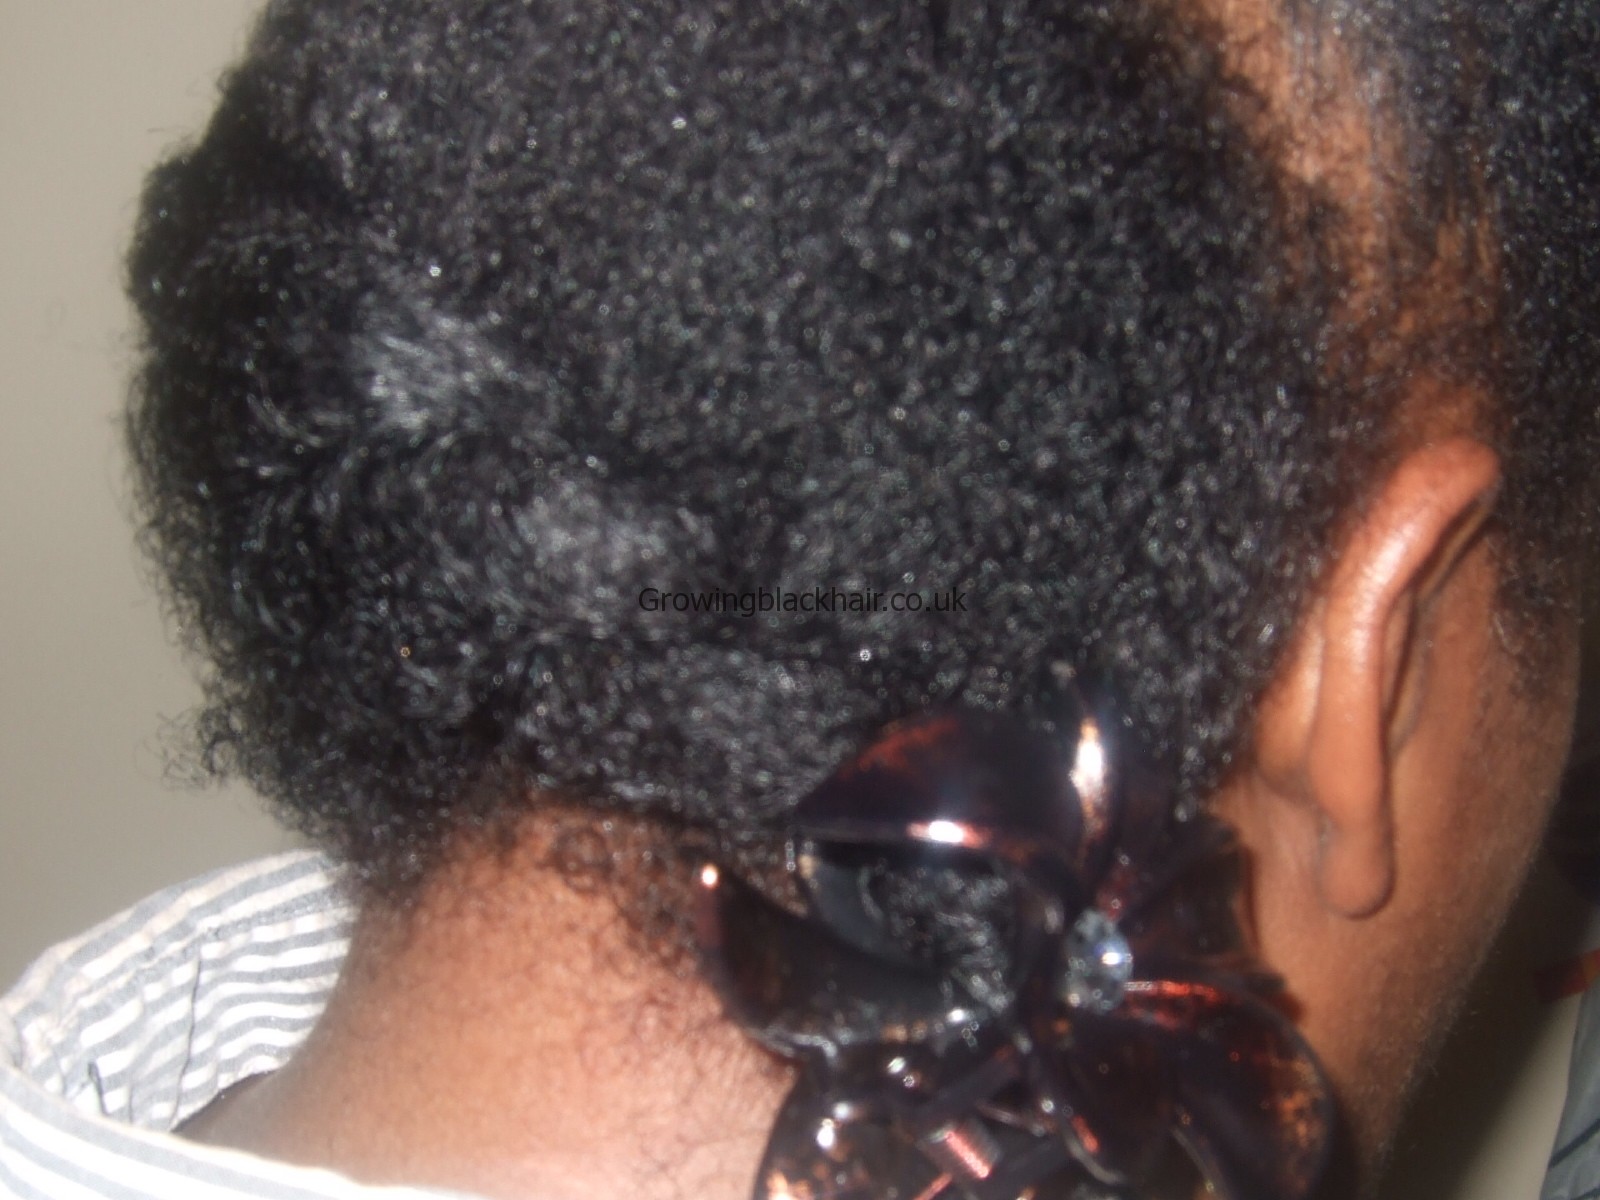
A common problem that many kinky and tightly coiled naturals face is single strand knotting,  Single strand knots occur when individual kinky, coiled strands wrap around themselves or connect and entwine with other strands.  Such knotting often increase when textured hair is allowed to shrink back tightly to the scalp after cleansing and is worn in this shrunken state.  Wash and gos, braid outs and twist outs are common triggers for single strand knotting, especially in longer natural hair.

The massive and annoying tangling and breakage that results from single strand knotting can work against length retention in natural hair quite dramatically

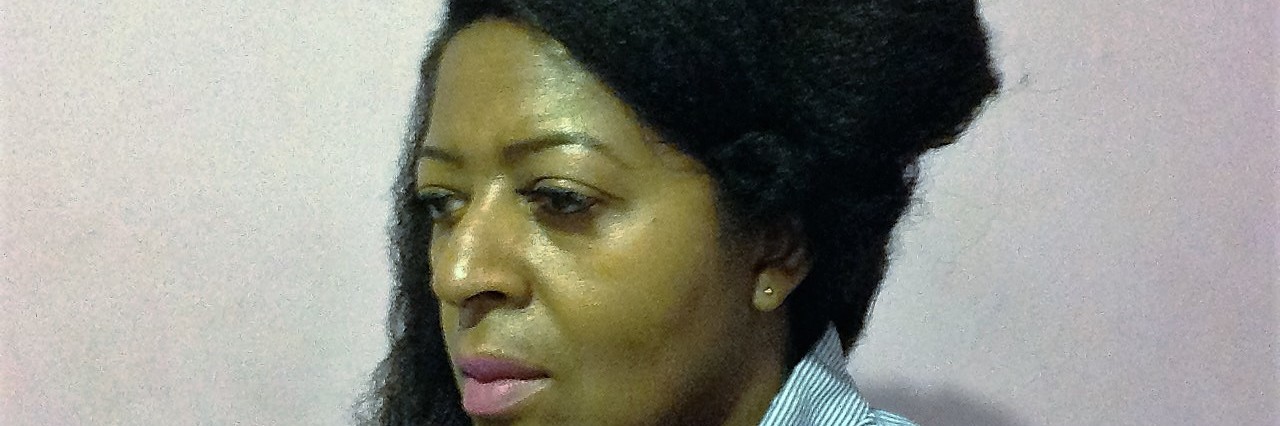
When wearing my hair out – I normally snip about 3 knots a week – that’s a lot of hair!

Keeping strands moisturized and protein balanced and oiled does help!

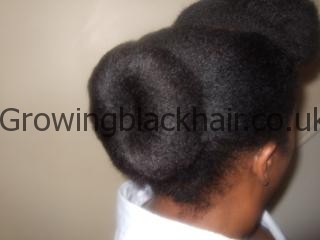
Reducing styling manipulation by wearing buns helps protect against knotting.

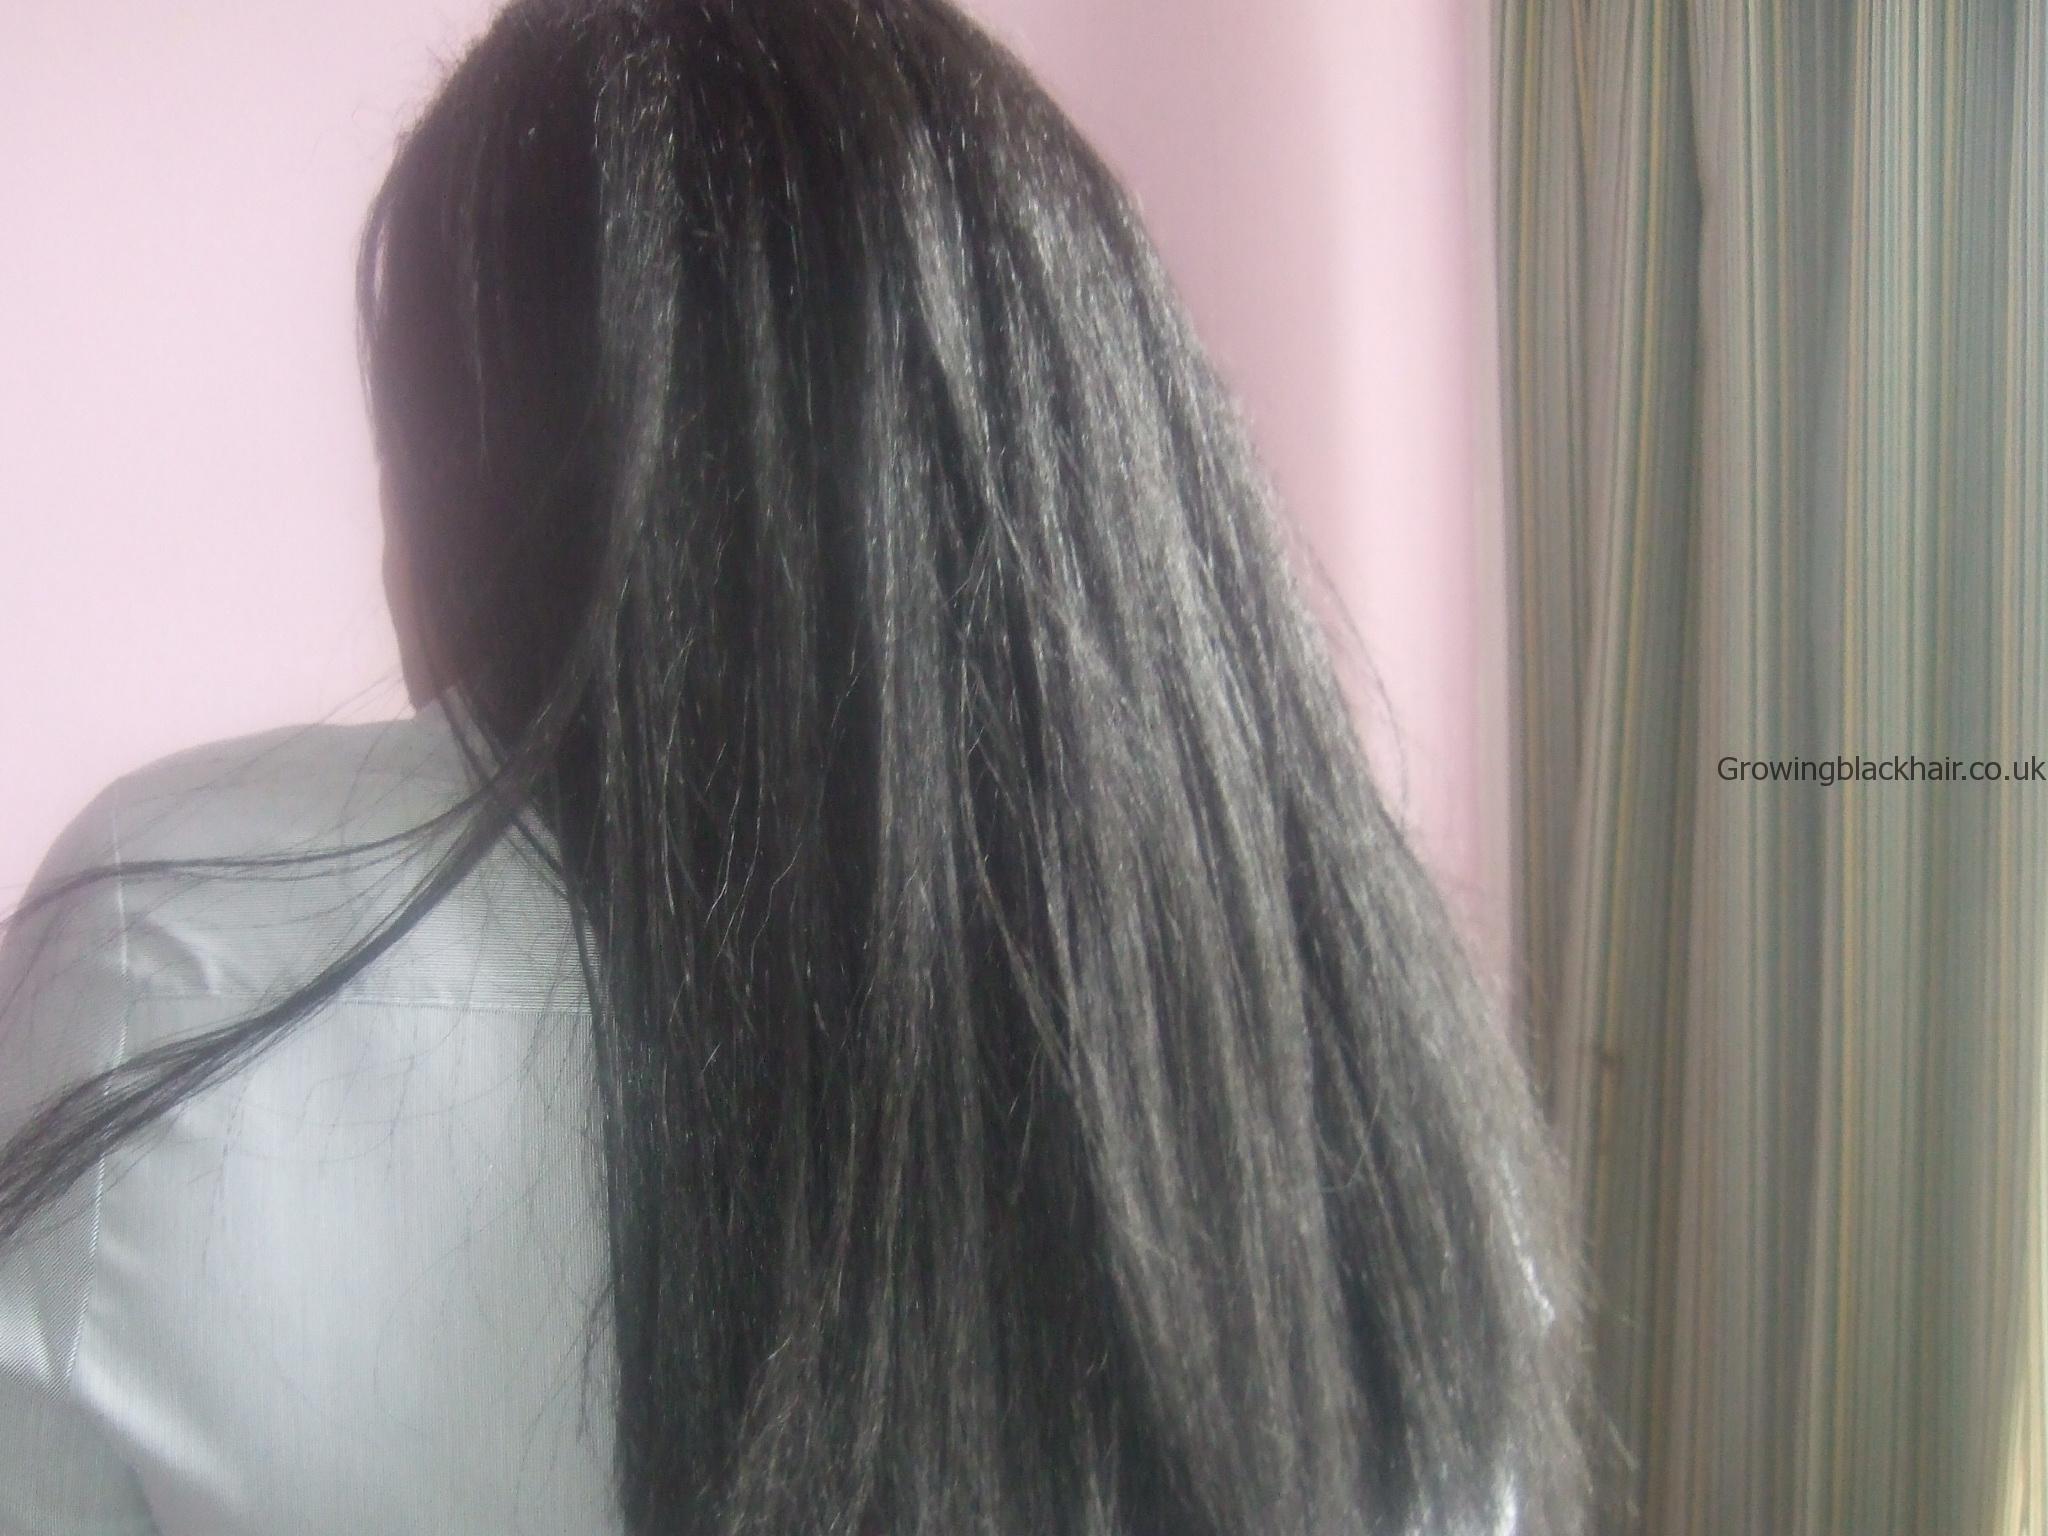
Stretching with a blow dryer helps greatly! but to keep the hair from drying out stretching the  hair with elastic bands (ponytail holders) along the length of the hair to keep it stretched.  Banding can be done on wet or dry hair: however wet or damp hair will lengthen more easily.   The technique is to separate hair into eight to ten sections.  Dampen and detangle one section of hair at a time and place a band at the  start, middle and end, allow to dry.  Alternatively a hooded dryer may be used.

The result will be stretched out, lengthier natural tresses!


How do you keep your knots at bay?


..

Gel-free styling

One of the best options to go gel free but still have the option of wearing sleek, slick styles is to skip the gel and use a water misting/satin scarf method.

Mist your hair with water or a moisturizing or conditioning leave in spray to soften the hydrogen bonds and set your hair.

Next hold the hair flat by tying it down with a scarf  for 10 -15 minutes.

Remove the scarf and enjoy your soft  gel free tresses!

Extra conditioning? apply a hair butter to hair after misting with the leave-in and then tie the scarf down for control.  Voila!beauty


Quick moisturizing routine

Next day moisture – THE NEXT MORNING!

Wanting to get dressed and get out the door can be a challenge – here’s how to moisture that hair quickly and efficiently.


What you need: Choose from product list below.

ü  Oil Moisturizer or water spray

ü  Cream moisturizer

ü  Shea butter or oil

ü  An as alternative add a gel to style


  1. On rising, saturate hair with your chosen moisturizer, if using water just lightly damp the hair – do not wet it – otherwise you will have shrinkage problems! (depending on your hair type – especially 4b/cs)
  2. Using a cream moisturizer gently point this towards the ends.  It’s the ends that need protection.  The ends are the driest of the hair because it is the oldest!
  3. Add your choice of butter or oil throughout lengths of hair, paying attention to the ends.  Oil seals the hair and keeps moisture in!
  4. Add a gel – the benefits of gel are: if you have coils in your hair, this will make your hair look very pretty.  It keeps hair in place, holds it flat and a range of styles can be achieved with this look.

transition natural hair styles 336


How to stop hair breakage at shoulder length – natural black hair

 DSCF3930

Hair grows quickly from a shaved head to a small afro – mine did – so did yours I gather! It went from afro to afro puff then from the ears to the neck and from ears to the shoulder.  Arriving at shoulder length is not just one of the fastest growth points but it is also the heaviest breaking point!

While waiting for your hair to reach shoulder length wearing puffs, twists and braids can be helpful in maintaining and supporting the growth of your hair.  

Once it reaches shoulder length special care should be taken as you look over your routine and modify any changes that need to be made.  Such changes should involve taking special care of your hair ends; hair can be entwined in collars, coat and your shoulder bag!  Those ends are really fragile.  To prevent this use a protective style that enables you to pin up your hair into a bun, or put them in a baggie covered by hat or scarf or a hair clip with the ends covered or a phony afro puff etc. There are so many protective styles to choose from – just keep those ends covered..

Fortify the ends at night with moisturiser and a heavy cream or spray with a homemade moisturiser using aloe vera juice, mineral water and castor oil. Cover with your usual silk scarf.

Are you past shoulder length yet?


Care for afro hair – Protective styling or low manipulation

 transition natural hair styles 567


Over the three years I have been natural I have been at loggerheads at this ‘pushed in your face’ statement.  Most of youtube and other blogs insist I must do protective styling in order to grow my hair!  Not to mention my natural hair hairdresser as she flicks her locs to one side…. Right – I hear you – all of you!  I have watched you all and dearly listened.  The verdict – it’s a no!  yeh that’s right! I said it ‘I hate protective styling’.  Not only does it not work – my hair hates being covered over especially with a weave .  It is a misconstrued statement that it guarantees length – it does not! My hair absolutely hated it! It itched, it didn’t grow any no faster than normal and its frustrating for the scalp and for you!  Hair needs to be out in the open to absorb the air – it wants to be out – it needs oxygen and the sun!.

I’m not saying its wrong – maybe it agrees with you, but I suspect that this is something that is very personal. We are all different and your hair and mine will have different needs.    Wearing wigs is not so bad – because you can remove those at the end of the day!  But the weave is a bit more harrowing especially for the scalp.  In my case my hair thinned out – it was horrendous!

Crochet braids were kinder- well you do those yourself!  Twists I found gave me lots of fairy knots! Every time I put my hair in twists I could never undo them without a knot at the back waiting to greet me!   Walking around in twists was a no no – as that look didn’t suit me – I have fine 4b/c hair – and they just don’t look right for work or anything else – So out went that!

For some women of course protective styling is a welcomed break from all the combing, brushing and daily manipulation!

So having said that – this brings me to low manipulation styles.  Now this has a better retention rate.  It can be anything you choose whether it’s a twist out, braid out or as I prefer a bun or the back tucked under and front pinned in – whatever it is – just don’t touch it for 3 to 4 days! .  So what you have is a style of your choice something that looks good, compliments your facial features and is neat.  I must say it is this low manipulation style that has been more successful to my hair needs!  I find that I was able to retain growth a lot easier too.

Now what you are actually achieving by adopting a low manipulation style is this!

  • gentler handing
  •  low manipulation, reducing splits and breakage
  •  Retaining moisture
  • Reducing tangles 

I have noticed though – your hair doesn’t grow any faster -but you definitely achieve healthier hair!

Good luck with your hair journey … do what suits you, what feels right – because the chances are your guts feelings are always right!

This is my experience with protective/low manipulation styles – what’s yours?

 transition natural hair styles 320


Black natural hair care – Crochet braids

DSCF3062

Yeh that’s right! I love crochet braids – so will you!

Here are my reasons why:-

First of all buy your Kanekalon KK jumbo this is an easy to braid  synthetic hair –which is the best hair ever – it really feels good and behaves like real hair that is blown out!

The hair itself is very cheap and very economical. Best of all – you can do it yourself.

You cornrow your own hair then start crocheting. Using a crochet hook, pick out a few strands of kanekalon hair, thread it through a space on your scalp through a section of the cornrow and knot twice – there, your done – move on to the next section!. (You will need a crochet hook, look for examples on utube but you can see my utube pics here   The whole process should take you about 2 – 3 hours! After which you’re free to trim, cut and style or straighten the hair out even more should you please..

If you choose to go to a salon – like I did the second time around, be careful because they tend to cornrow in too many rows – and you could end up with extremely thick hair! In the end I had to get a pair of hair thinning scissors to reduce the bulk! Just do it yourself at home it’s far less stressful, or enlist a friend to help! Anyway when it’s done, cut it to your desired length. Results are beautiful bouncing synthetic tresses, that can be straightened with an hairdryer or curled or just left to hang – whatever you choose it will look very natural! Crochet braids are totally protective, you’ve cornrowed your own hair yourself so it’s not tight! Believe me that’s a bonus! You’ve had minimal outlay so you’re not out-of-pocket especially if you’re a student or on a low-budget!

Some people may prefer to leave some hair out – this is your choice. It makes for no detection at all. My hair hates being left out – it responds by breaking off – it loves company! It’s no problem to wash this hair and don’t forget to moisturize as usual!

When removing the braids which is very easy, don’t forget to comb out gently each section of hair and  do a thorough detangling with your fingers, then comb and wash very gently, being careful to not tangle the hair as you massage your scalp. This hair usually keeps for a very long time and whilst there is some shedding it’s nothing major. Six weeks is usually the norm but you can go for longer if you please.

Results: longer hair in a very short space of time! Happy growing! What’s your favorite protective style – and why?

www.youtube.com/watch?v